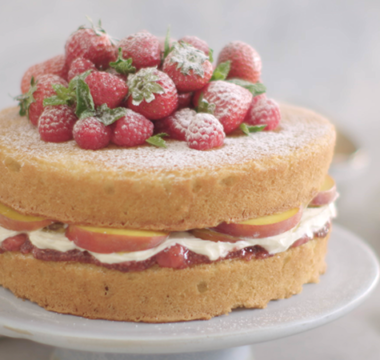
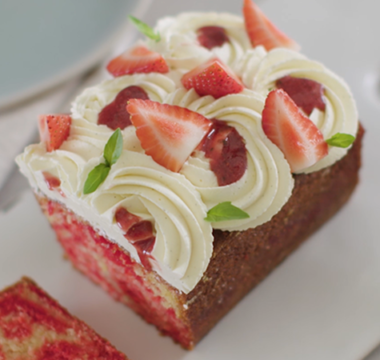
Mastering this classic sponge will give you a solid foundation for embarking on your cake-making journey, trying different flavours and fillings every step of the way. This sponge has a light and fluffy texture – it is a foolproof recipe and the perfect go-to for a birthday, an afternoon tea, and beyond!


David
Series 10
Serves:
8
Difficulty:
Easy
Hands-On Time:
30 mins
Baking Time:
20–25 mins
- Ingredients
- Method
Print recipe
Method
Step 1
Heat the oven to 180°C/160°C fan/350°F/Gas 4.
Step 2
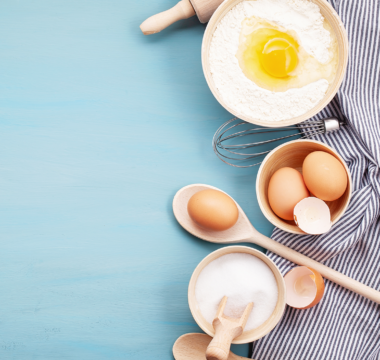
Make the sponge. Sift together the flour, baking powder and salt in a medium mixing bowl and set aside.
Step 3
In the bowl of a stand mixer fitted with the beater attachment, cream together the butter and sugar on medium speed, scraping down the sides of the bowl as necessary, until the sugar has dissolved in the butter and the mixture is light and fluffy (about 3–5 minutes). (Alternatively, you can do this by hand in a bowl, using a wooden spoon.)
Step 4
Beat in the vanilla extract, then beat in the eggs one at a time, making sure each egg is fully incorporated before adding the next and scraping down the sides of the bowl as necessary. Add a tablespoon of the flour mixture if it looks as though the egg and butter mixture has split and mix again.
Step 5
Add one third of the dry ingredients to the wet and mix until just incorporated, then add half of the milk. Mix until just incorporated. Beat in another third of the dry ingredients, then the remainder of the milk. Finally, add the rest of the dry ingredients. (Scrape down the bowl as needed.)
Step 6
Divide the batter equally between the two prepared tins. Smooth the top with a palette knife or the back of a spoon to create an even layer with a level surface.
Step 7
Bake the sponges in the centre of the oven for 20–25 minutes, or until lightly browned and starting to pull away from the sides of the tin. The sponges should spring back when you press them lightly in the centre.
Step 8
Remove from the oven and leave the sponges to cool in the tins for 5 minutes, then turn them out onto a wire rack to cool completely. (It’s important they are cooled fully before you start to decorate.)
Step 9
Spoon the jam on top of one of the sponges and spread it out with a knife in an even layer.
Step 10
Pour the cream into a mixing bowl, or into the stand mixer fitted with the whisk, and lightly whip the cream to soft peaks.
Step 11
Dollop the cream on top of the jam and gently spread it out into an even layer. Top with the second sponge and dust with icing sugar – serve and enjoy!