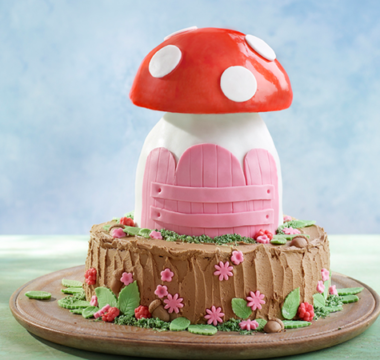
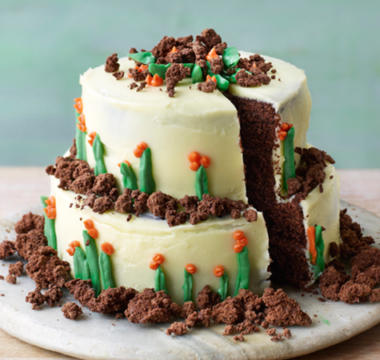
A really moist mocha-flavoured sponge with a fabulously rich buttercream, this cake is created to look like the green foot of a magical fairy tree. Desiccated coconut, coloured green, creates the mossy effect.


Helena
Series 10
- Ingredients
- Method
Method
Step 1
Heat the oven to 180°C/160°C fan/350°F/Gas 4.
Step 2
Beat all the sponge ingredients in a stand mixer fitted with the beater, on low speed for 2–3 minutes until smooth and combined. Pour the mixture proportionately into the prepared tins and bake for 40–45 minutes for the smaller cakes and 50–55 minutes for the larger cakes, or until firm to the touch and a skewer inserted into the centres comes out clean. Cool in the tins for 30 minutes, then turn out onto a wire rack to cool completely.
Step 3
Start the chocolate buttercream. Melt the chocolate in a heatproof bowl set over a pan of simmering water. Set aside and leave to cool.
Step 4
Meanwhile, put the desiccated coconut into a bowl and add green food colouring until you reach the desired moss shade. Set aside.
Step 5
Continue with the buttercream. Beat the butter in a stand mixer fitted with the beater, on medium–high speed for about 3 minutes, until fluffy. Add the coffee and vanilla and turn the mixer to low. Gradually add the icing sugar, then beat at medium speed until smooth and creamy. Add the cooled melted chocolate and mix to combine.
Step 6
Sandwich the two 20cm cakes and (separately) the two 15cm cakes with a little buttercream. Spread the sides of both cakes with buttercream, and roll them in the coconut. Place the larger cake on the cake drum. Push the dowels into the centre of the large cake in a triangle formation, about 5cm apart, and trim to length.
Step 7
Place the smaller cake on the cake card and place on top of the larger cake, to stack. Spread the exposed tops of both layers with more buttercream and cover completely with the remaining green-coloured coconut.
Step 8
Make the decorations. Halve the sugar paste, then halve one of the halves again. Take one of the smaller portions and mould it into several mushroom shapes. Dust the mushrooms with black rainbow dust to create ink caps.
Step 9
Colour one third of the second smaller portion of sugar paste pink, one third purple and one third green. Roll out the pink and purple sugar pastes on a work surface lightly dusted with icing sugar. Cut out flower shapes and dust with pink and purple dust to finish. Mould the green sugar paste into maple leaves. Place all the decorations on kitchen paper and set aside to dry for a couple of hours.
Step 10
Press pieces of the larger portion of sugar paste into the silicone moulds to form the doors and windows. Release them from the moulds and paint with gold edible paint to finish. Set aside to dry.
Step 11
To make the chocolate tree bark, melt the chocolate in a heatproof bowl set over a pan of simmering water. Remove from the heat, then set aside to cool.
Step 12
Pour teaspoonfuls of the cooled, melted chocolate onto a silicone mat or sheet of baking paper. Spread each with a palette knife, then, using a cocktail stick draw spirals in the chocolate and run a fork in wavy lines around them to create the appearance of tree bark. Chill to set, then carefully break up the firm chocolate into pieces and arrange them around the cake with the other decorations.

