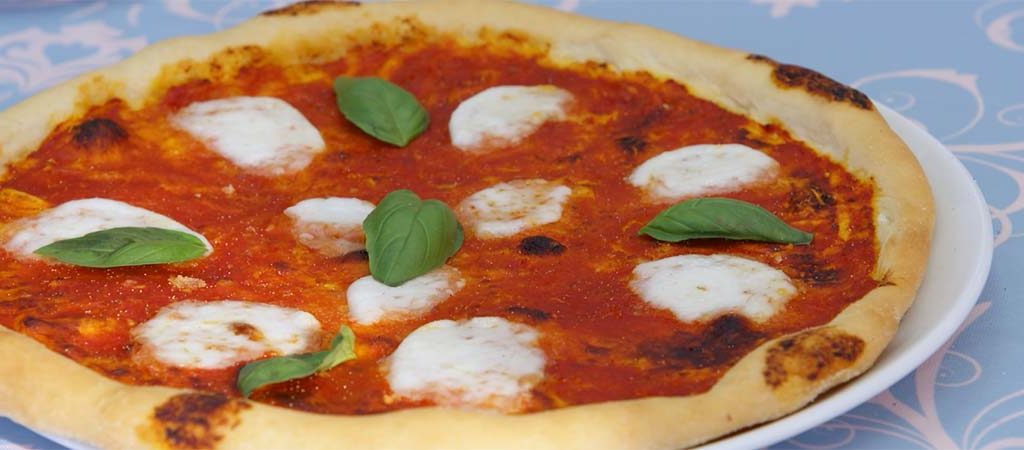
The Italian Week technical challenge put the bakers’ home-cooking skills to the test with an Italian classic: Pizza Margherita. It may sound easy, but achieving the perfect crust, a crisp base and the iconic red white and green Italian flag topping is no pizza cake. The secret to the ultimate Pizza Margherita lies in authentic methods, and it was that skill and instinct the judges were looking for in this challenge. Prue even made her way around the tent pinching the baker’s rolling pins before the challenge, and for good reason – Italians achieve a perfect pizza base by tossing the dough in the air rather than stretching it out using a rolling pin.
Here’s how to toss your dough…
Step 1: Make your dough
Get the recipe for Prue’s Pizza Margherita Technical Challenge.
Step 2: Get floury
Get ready to make a mess, because you’re going to need to flour down more than just your work surface for this. You’ll need to flour your hands and arms up to your elbows to keep your dough from sticking while you stretch it. Top tip: using semolina instead of regular flour will result in an even crisper base, and stop it from sticking to your hands, worktop and peel, if you’re using one.
Step 3: Shape it
Take your ball of risen dough and use your fingers to push the outer edges into a ridge around the outside. Once you have formed your ridge (which will become the crust), use your knuckles to knock the centre of the dough flat, forming a wider, flatter disc. The key is to be gentle – work the dough too hard and your crust will become tough.
Step 4: Start stretching
Place your hands flat on the pizza base, and gently push the dough apart to stretch it. Rotate it 45 degrees and repeat until you have a wide, round base. (If you want a shortcut, you can use a rolling pin at this stage to stretch the dough out – just roll it, turn 90 degrees, and repeat. Prue wouldn’t approve, but we won’t tell if you don’t).
Once you’ve got a round base, use your fingers to push a ridge back into shape around the edges. This will form your crust, and hold the dough’s shape in place as you toss it.
Step 6: Get hands-on
Now’s the time to manhandle your dough. Hold the dough with your dominant hand in a fist under the centre of the base, and your other hand as a flat palm at one edge. Gently tease the dough outwards with your flat hand, away from the fist. Give it a few seconds of stretching before using your fist to mini-toss the base in the air, rotating a few degrees and repeating the stretching motion on a new part of the base until you’ve gone all the way around.
Step 7: Get tossing
The mini-toss is a great way to stretch your dough to pizza perfection, but if you want to advance your tossing technique, you can attempt a full toss. To do this, hold the base in the same way as before, except with both hands in a fist. Move the hand holding the centre in an upward twisting motion while moving the hand holding an edge away and outwards. It takes a little practice, but once you get a feel for it you’ll find your rhythm.
Step 8: Top and bake
Once you’re happy with your base, it’s time to top it and cook it.
Step 9: Don’t be disappointed…
… if your tossing doesn’t go to plan the first time you try it. Or the second. Or the 30th. Pizza chefs spend years practicing and perfecting their technique, and it’s not an easy one to master. Keep at it and you’ll get better results every time… plus it’s much more fun than going at it with a rolling pin.
Buon appetito, bakers! Save us a slice, will you?
