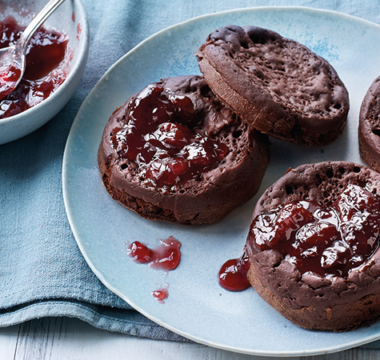
Some people find making jam intimidating, but this simple recipe is really quick and easy. Once you’ve tasted homemade, you’re never going to want to buy a jar of jam again! You can swap the raspberries for another seasonal fruit, and the jam can last up to three months in the fridge.

Lesley
Series 16
Makes:
1 Jar
Difficulty:
Easy
- VG
- GF
- V
- Ingredients
- Method
Print recipe
Method
Step 1
Put a saucer in the freezer to chill. This will be used to test if the jam has reached setting point.
Step 2
Place the raspberries in a small, deep-sided pan and crush them with a potato masher. Add the sugar and bring to the boil over a low heat until the sugar dissolves.
Step 3
Increase the heat and bring to a rapid, rolling boil for 3-5 minutes, stirring occasionally with a wooden spoon to prevent the jam from catching. As the jam approaches setting point, the bubbles will begin to subside a little and the jam will thicken.
Step 4
Using a sugar thermometer, bring the jam to 104-105°C/219-221°F and remove from the heat. If you don’t have a sugar thermometer, spoon a little of the jam onto the cold saucer, leave to cool for a few minutes, then push your finger into the jam. If it wrinkles, it is ready. If not, return the pan to the heat and cook the jam for a minute or two more and test again. It’s imperative to remove the jam from the heat when testing this way to avoid overcooking the jam.
Step 5
For seedless jam, pass the jam through a sieve into a heatproof bowl. Discard the seeds.
Step 6
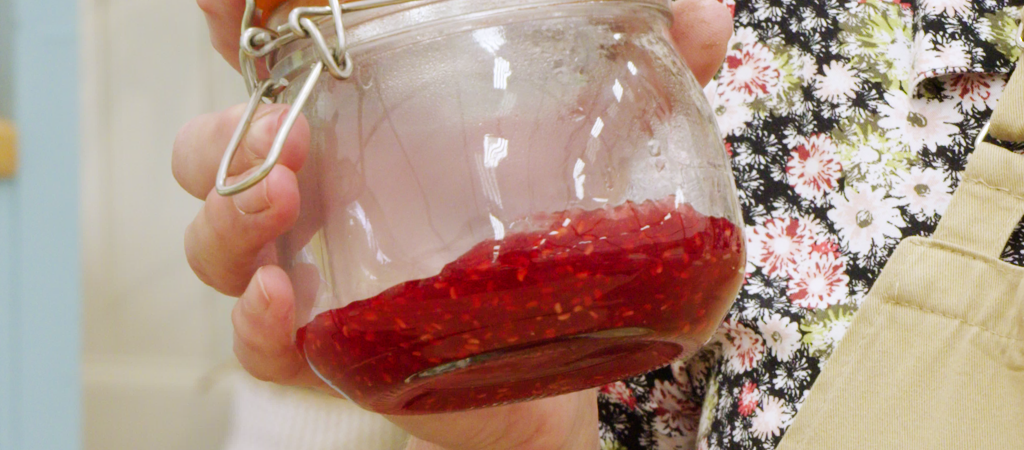
If not using straight away carefully pour the jam into a sterilised jar. Leave to cool before placing in the fridge to set. The jam will thicken as it cools.