Pretty and delicately decorated, these biscuits are baked quickly and shaped as soon as they come out of the oven. If they start to harden, becoming too firm to bend before you have a chance to shape them all, just return the sheet to the oven for 30–60 seconds to soften. You can bake them all and then freeze some, or keep the mixture in the fridge for 3–4 days to make fresh tuiles when wanted.
Serves:
8
- V
- Ingredients
- Method
Print recipe
Method
Step 1
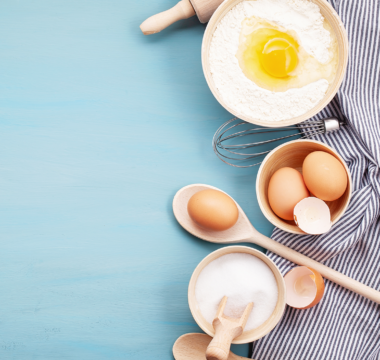
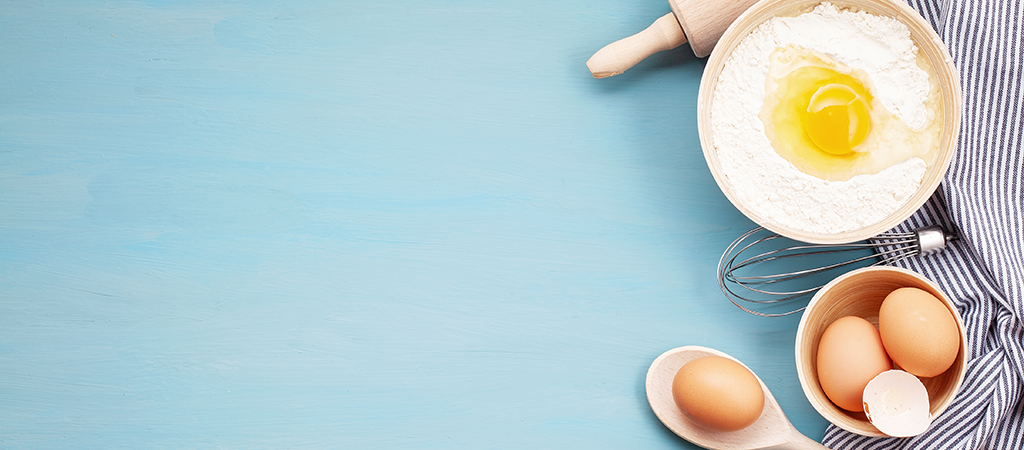
Heat your oven to 180°C/160°C fan/350°F/Gas 4. To make the tuile mixture, put the soft butter, icing sugar and vanilla into a mixing bowl and whisk together with an electric mixer to make a paste. Gradually add the egg whites, whisking constantly. Fold in the flour, a little at a time, stirring between each addition.
Step 2
Transfer a sixth of the mixture to a small bowl, add the cocoa powder and beat with a spatula or wooden spoon until well mixed. Cover both bowls with clingfilm and leave to rest at room temperature for 30 minutes.
Step 3
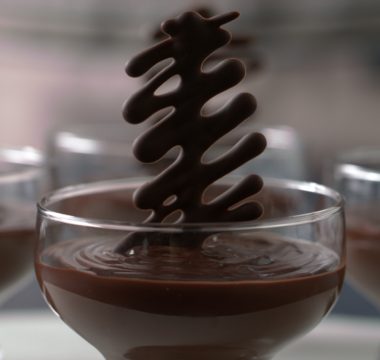
Meanwhile, make the chocolate mousse. Heat 150ml of the cream in a small pan until just simmering. Remove the pan from the heat, add the chocolate pieces and stir gently until the chocolate has melted and the mixture is smooth. Pour into a bowl and leave to cool for 15 minutes.
Step 4
Add the remaining cream and beat with an electric mixer until the mixture stands in soft peaks when the whisk is lifted out. Put the egg white into another bowl and whisk (with a clean whisk or beaters) until it stands in stiff peaks. Whisk in the sugar, a tablespoon at a time, then keep whisking to make a soft, smooth and glossy meringue. Gently fold the meringue into the chocolate mixture. Cover the bowl and chill until set.
Step 5
While the mousse is chilling, make the tuiles. First make a template for the round tuiles by cutting out holes 7cm in diameter from a plastic sheet or the lid of an old ice cream carton. Set the template on the lined baking sheet. Spread plain tuile mixture over the cutout shapes using a palette knife, then draw the blade across the template to scrape off the surplus tuile mixture. Carefully remove the template by peeling it away from the sheet.
Step 6
Spoon the cocoa tuile mixture into a small piping bag fitted with a writing tube (or a disposable bag with the end snipped off) and pipe patterns – dots/squiggles/wavy or straight lines – on the tuiles. Place in the heated oven and bake for 5–6 minutes, until the tuiles are just turning golden around the edges. Remove the sheet from the oven and, working very quickly, lift each warm tuile off the baking sheet with a palette knife and drape over a rolling pin so the tuile cools in a curved shape. Leave to cool and set.
To make tuile cigars:
Step 7
Spread the plain tuile mix over the template as before, but don’t add the cocoa decorations. Bake as in Step 6. While the tuiles are baking, gently melt the 50g dark chocolate. Remove the sheet from the oven and, working quickly, lift the warm tuiles off the sheet and gently curl them around wooden spoon handles to make neat cigar shapes. Leave to cool and set, then slide them off the spoon handles and dip both ends in the melted chocolate. Leave to set on a sheet of baking paper. (The baked tuiles – both curved and cigars – can be frozen or kept in an airtight tin for 3–4 days.)
Step 8
To make a tuile basket, line the baking sheet with a silicone sheet. Drop a spoonful of the tuile mixture onto the sheet and spread out with the back of the spoon to an uneven circle about 13cm across. Bake for 5–6 minutes until pale golden. Remove the baking sheet from the oven, carefully lift off the tuile and quickly mould it over an upturned pudding mould or ramekin to make a basket shape. Leave to cool and firm up before gently lifting the basket off the mould. Fill with the chocolate mousse and serve as soon as possible with the curved tuiles and tuile cigars.